Exposure compensation
Written by: Nate Torres
Last updated: July 30, 2024
Exposure compensation lets you adjust your camera's light settings, making your photos brighter or darker to match what you see and want to capture...
What is exposure compensation?
Exposure compensation is a dial/button found on most cameras that will allow you to override the exposure adjustments made by your camera’s automatic or semi-automatic exposure settings.
For example, on my Canon 6D Mark II, I access my exposure compensation by hitting Q, and then I can get to my exposure compensation and adjust it with my dial:
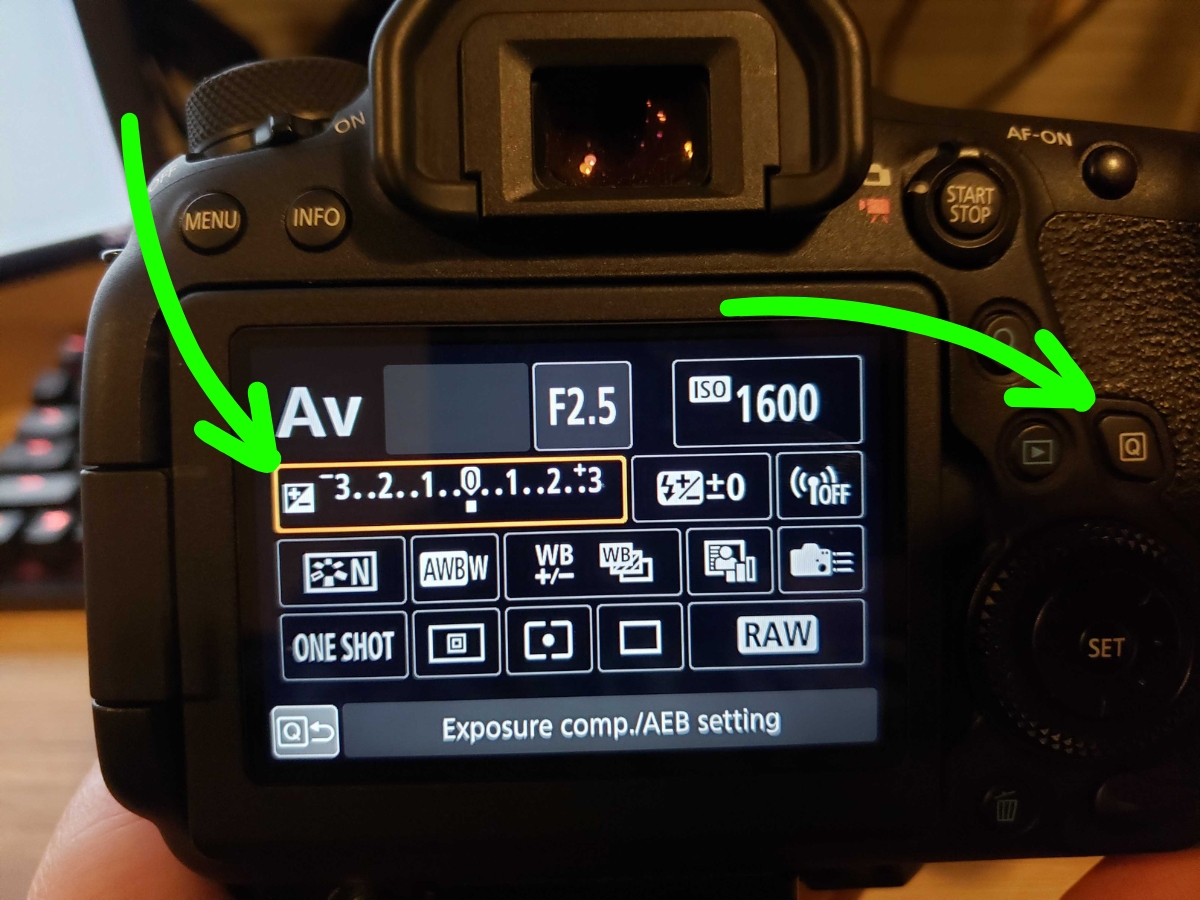
As I'll show later, you can access exposure compensation differently based on the camera model.
When to use exposure compensation?
As a photographer, you use exposure compensation when using a type of automatic exposure setting, and it's not aligning with your creative vision, especially in challenging lighting conditions like backlit subjects, high-contrast scenes, or uniformly bright or dark environments that confuse your camera’s metering system.
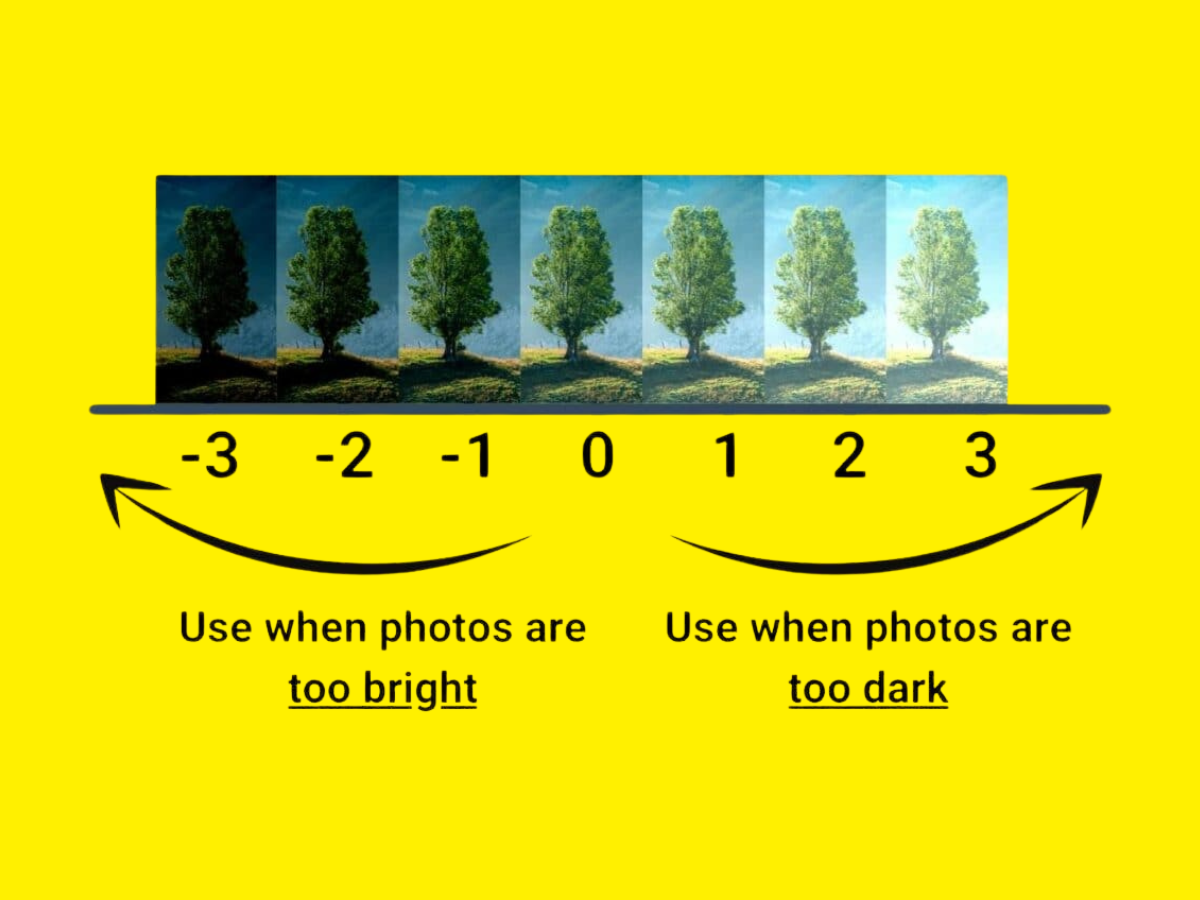
For example, let’s say you choose Aperture Priority Mode and take an image that ends up being slightly underexposed or overexposed. You can quickly make adjustments to your exposure compensation settings to either brighten or darken the image in a few quick seconds.
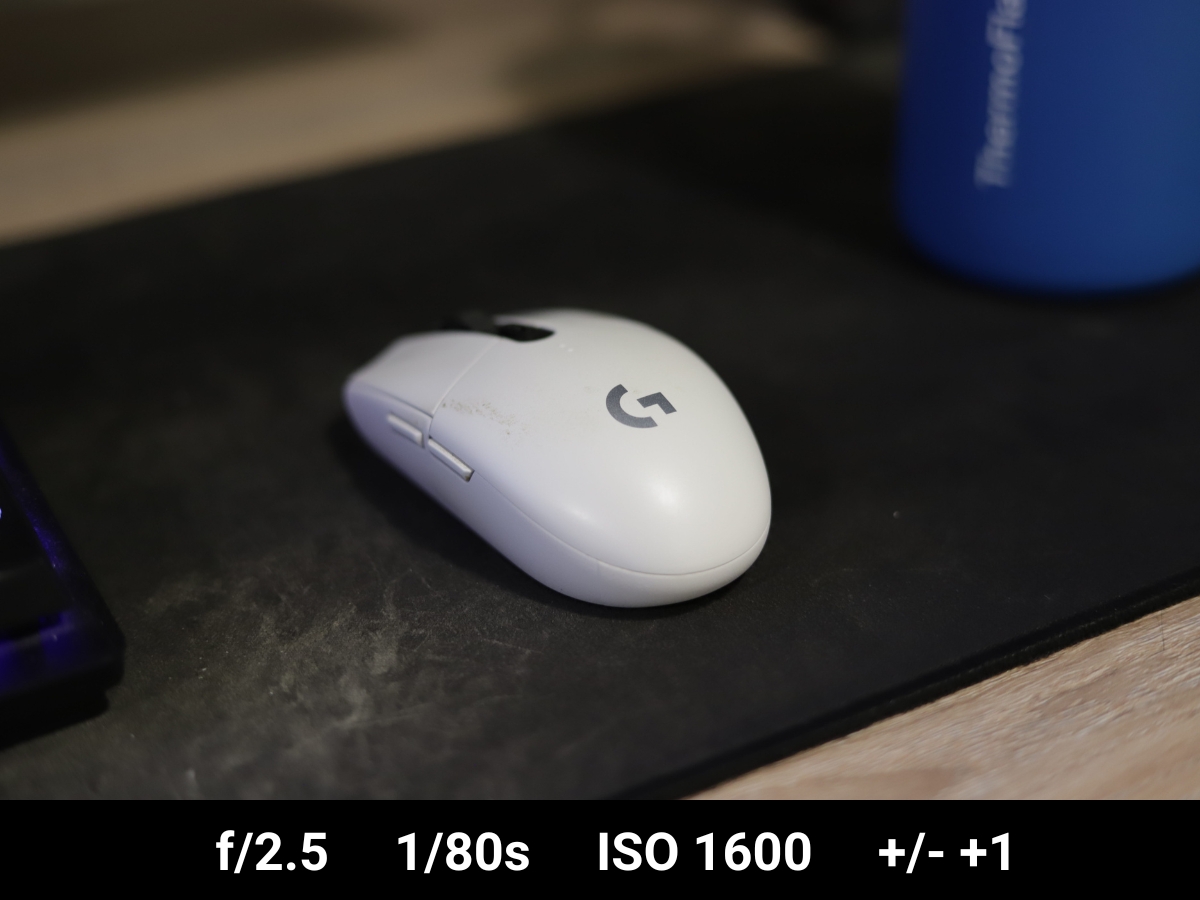
Essentially: It’s a setting made for ease of use, allowing you to quickly correct overexposure or underexposure. Here's an image of my mouse I took in aperture priority mode using f/2.5, 1/160s, and ISO 1600. As you can see, it's a bit underexposed:
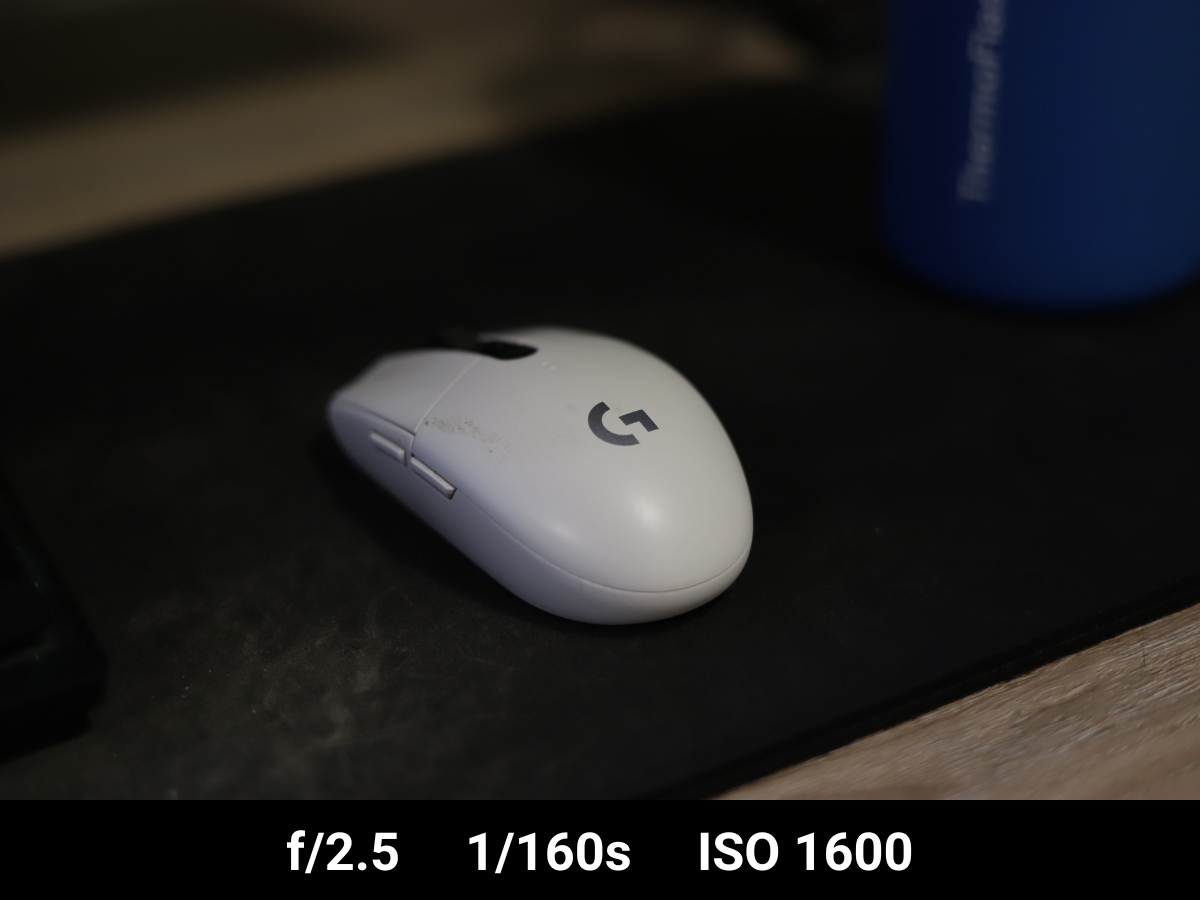
Now, here's the same exact image and settings, but I adjust my exposure compensation to +1. As you can see, the image is better exposed.
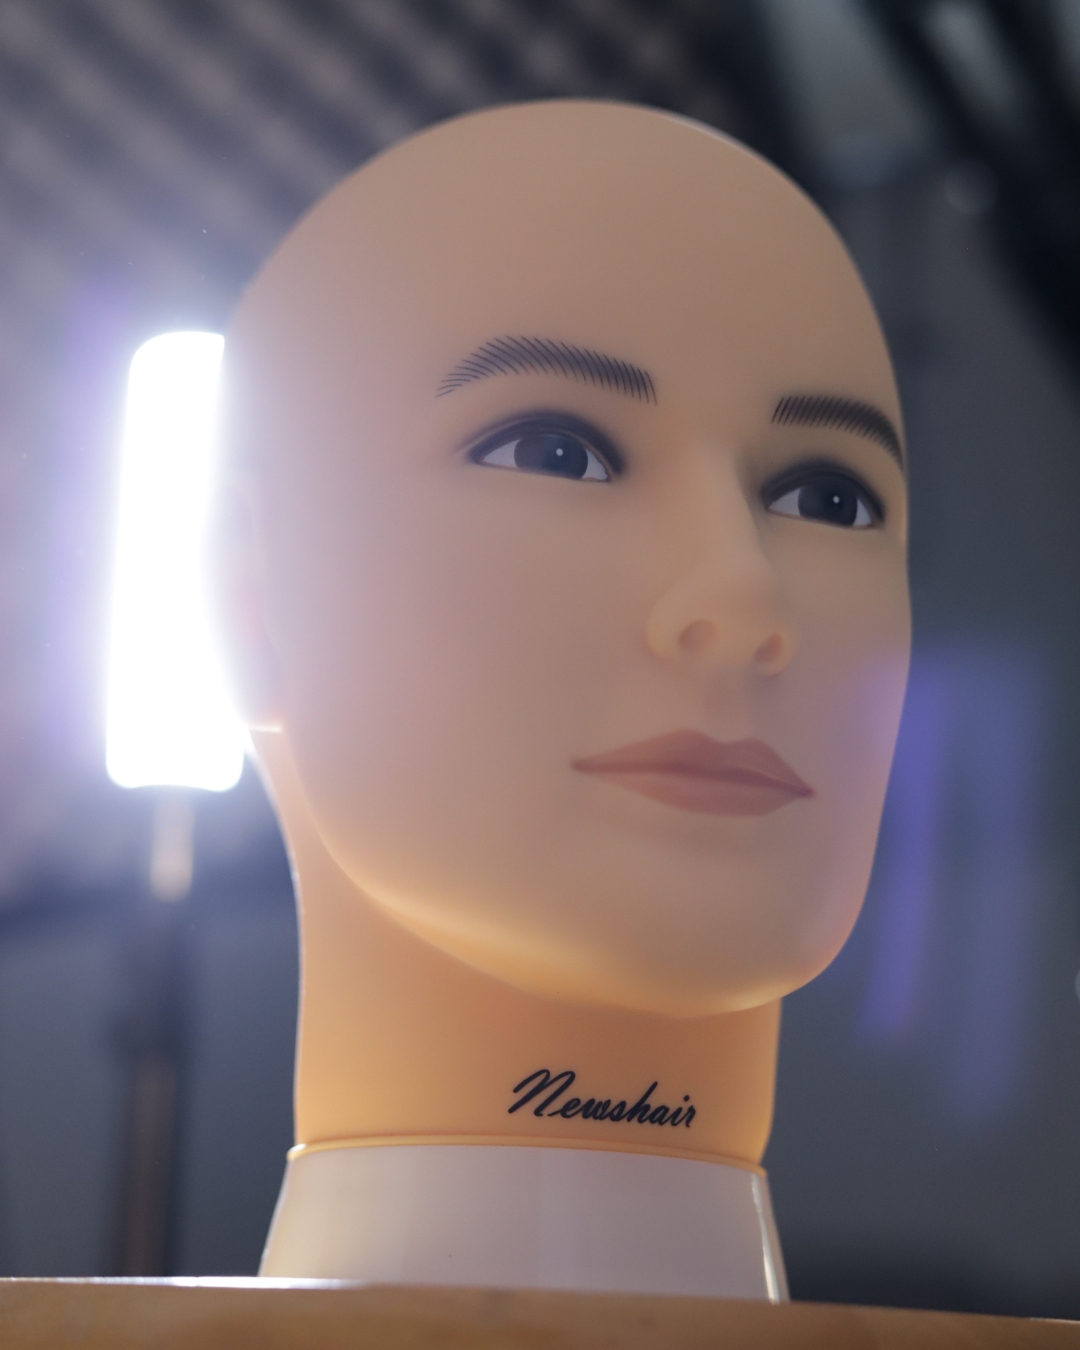
Here's another example: Let’s say you want to take a backlit portrait to have a subject in front of a bright light source. For my example, I’ll be using a practice mannequin head and an external light as the light source to simulate a backlighting situation:
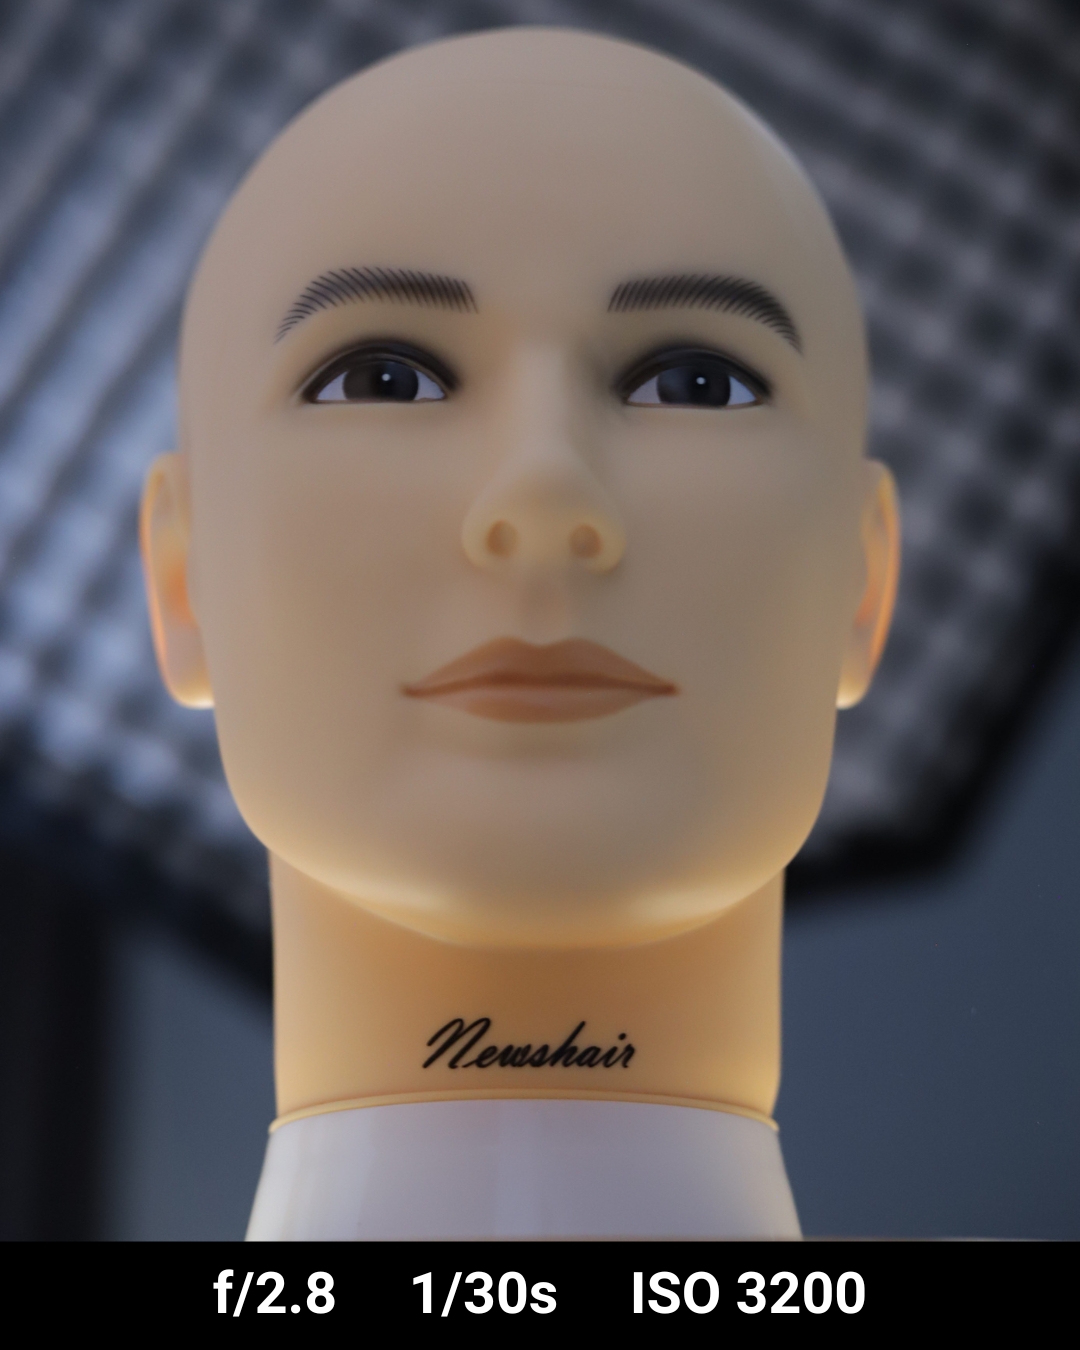
In this image, I'm in aperture priority mode using f/2.8 for the shallow depth of field, 1/30s, and ISO 3200. As you can see, the image is a bit underexposed, but I want to remain at this aperture, so I'll increase the exposure compensation.
Here's the same image taken at f/2.8, 1/15s, and ISO 3200 with a +1 exposure compensation. Notice how it's now properly exposed to the face:
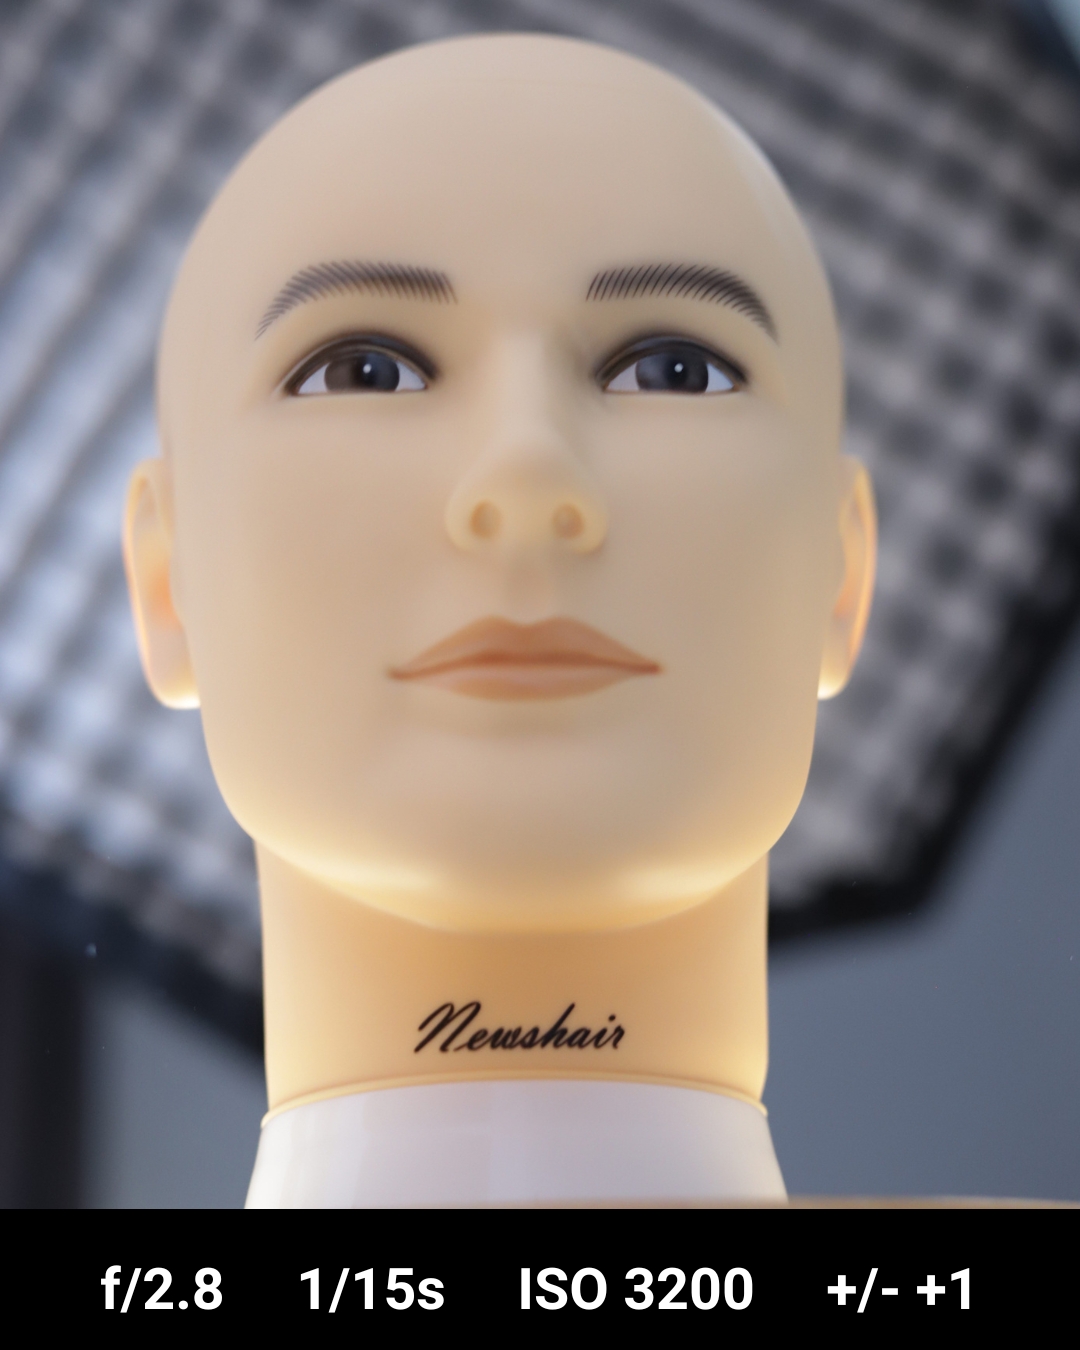
You might have noticed that the shutter speed changed. Why is that?
While this setting makes life a lot easier when shooting in automatic or semi-automatic exposure settings, it’s important to know how it works and what settings it changes, so let’s examine that now, along with example scenarios.
How does exposure compensation work?
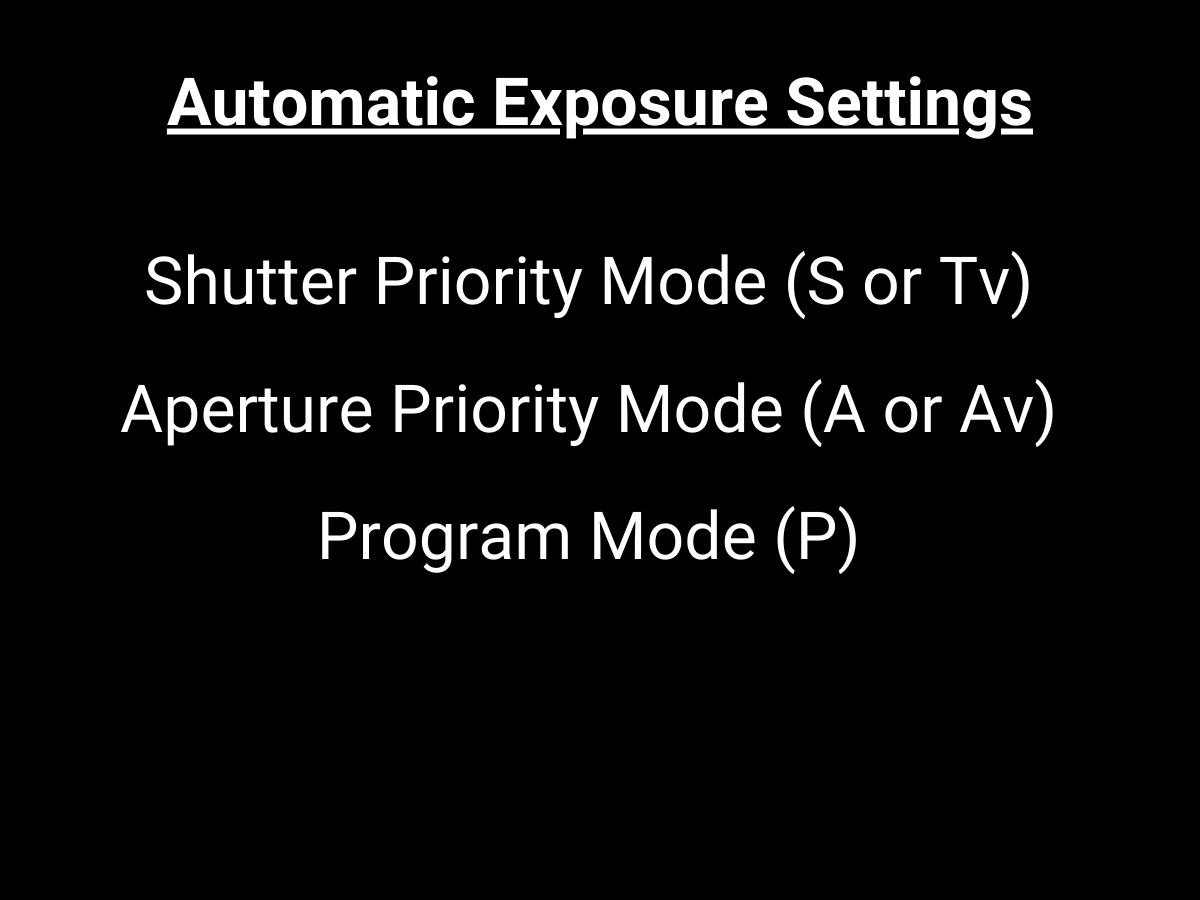
When using exposure compensation, it works differently depending on which exposure setting you have chosen on your camera, such as aperture priority mode, shutter priority mode, program mode, manual mode, or auto mode:
Aperture priority mode
In aperture priority mode, you choose the aperture, and your camera will select the shutter speed to achieve a proper exposure. If you were to apply exposure compensation in this mode, your camera will adjust the exposure by changing the shutter speed.
For example, if you increase the exposure compensation, your camera will use a slower shutter speed to allow more light in. This can be seen with my example of the mannequin and the backlight. The image before exposure compensation had a shutter speed of 1/30 of a second:

The image after exposure compensation had a shutter speed of 1/15 of a second:

If you decrease the exposure compensation, your camera will use a faster shutter speed to let less light in. Because of this, if you increase exposure compensation by a lot and you are shooting handheld, then just be aware that you will be using a slower and slower shutter speed, so you might introduce motion blur and camera shake into your image.
Shutter priority mode
In shutter priority mode, you select the shutter speed, and your camera will select the aperture. If you were to apply exposure compensation in this mode, your camera will adjust the exposure by adjusting the aperture size.
If you increase the exposure compensation, your camera will choose a larger aperture (smaller f-stop number) in order to increase exposure. For example, in this image shot in shutter priority mode, I placed my Rubik's Cube next to my mouse to see the changes in depth of field.
In this image at f/4, 1/160s, and ISO 3200, we can see that the Rubik's logo is somewhat visible. But the image is also very underexposed:
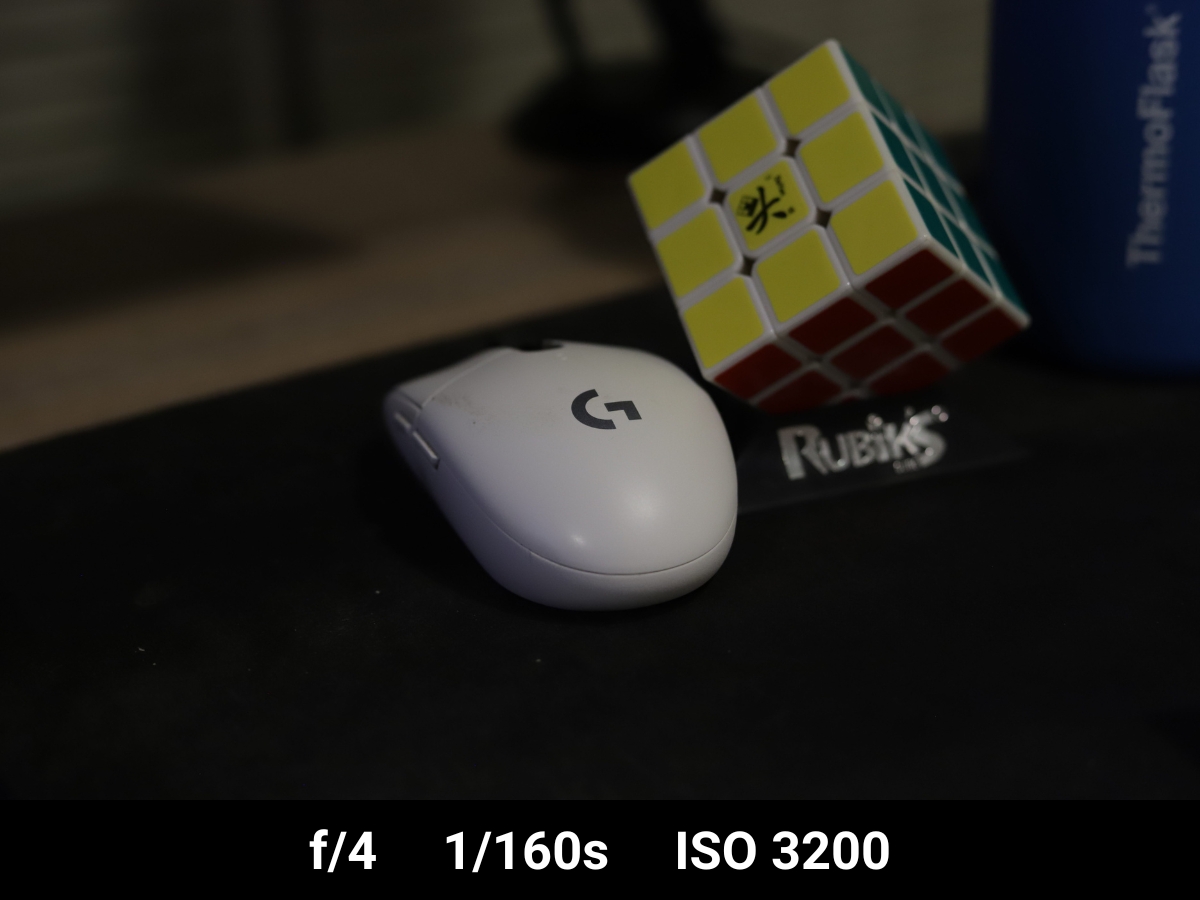
I want to increase the exposure but keep the same shutter speed, so I increased my exposure compensation to +2. The image is now at f/2, 1/160s, and ISO 32 with +2 exposure compensation:
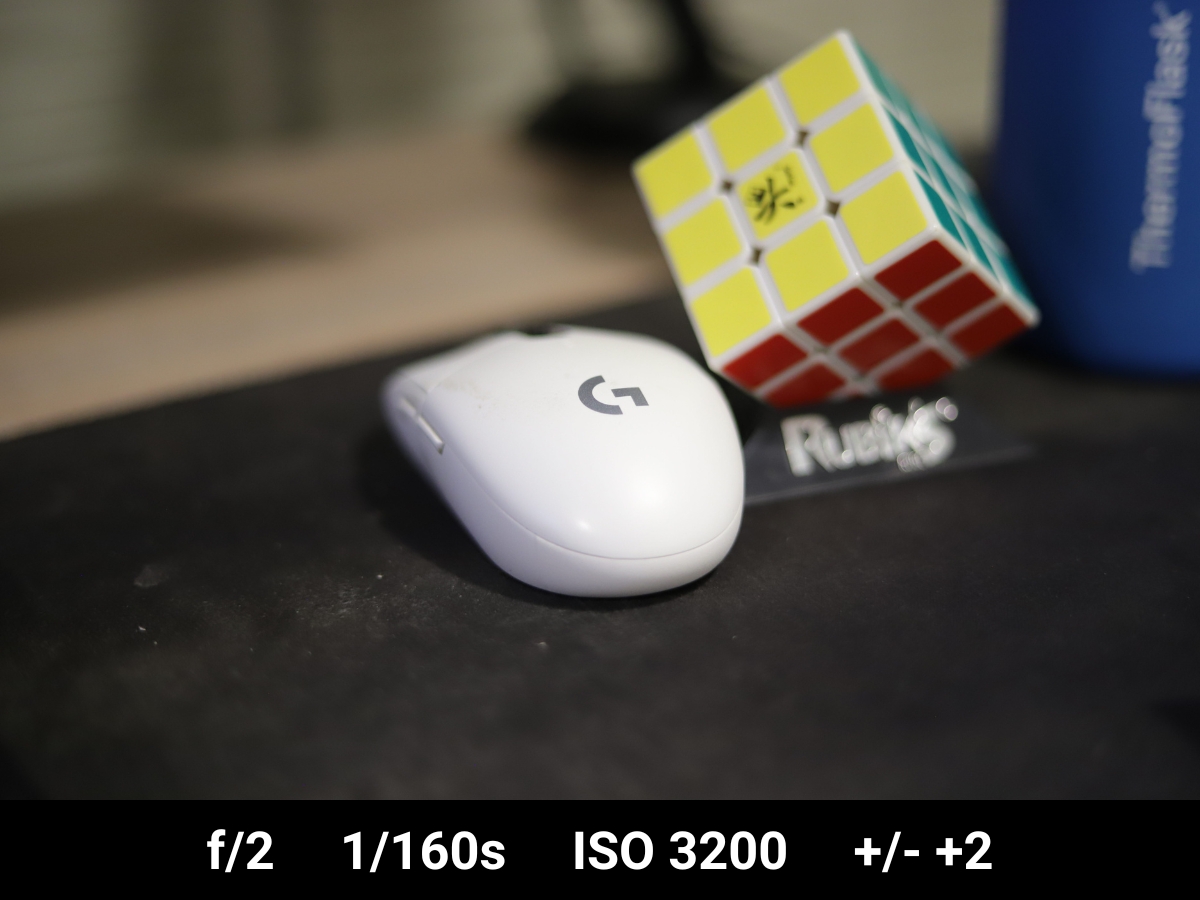
As we can see now, the Rubik's logo is now blurred out, and the G on the mouse is what's in focus because we are at a shallower depth of field at f/2. If you decrease the exposure compensation, your camera will choose a smaller aperture (larger f-stop number) to decrease exposure.
This change to aperture is important to know because if you’re taking a landscape photograph that requires a smaller aperture to capture more of the scene in focus and you choose to increase exposure compensation, you may end up with a more shallow depth of field instead of the original narrow depth of field you were hoping for.
Program mode
In program mode, your camera selects both aperture and shutter speed but allows you to shift this combination for creative reasons without changing the overall exposure.
If you apply exposure compensation in this mode, your camera will adjust either the aperture or the shutter speed, or a combination of both to achieve your desired exposure change. Because of this, you’ll want to know what changes if you go for a particular depth of field with your aperture or a particular motion effect with your shutter speed.
Manual mode
In manual mode, exposure compensation is not possible because you have full control over aperture, shutter speed, and ISO. If you want to change the exposure, you’ll need to know how all three elements work together in the exposure triangle to affect exposure.
Auto mode
In auto mode, your camera makes all the exposure decisions for you, so your camera entirely controls adjustments to aperture, shutter speed, and ISO.
How to use exposure compensation?
Exposure compensation involves a few simple steps that can vary slightly depending on your camera model.
1. Locate your exposure compensation button/dial
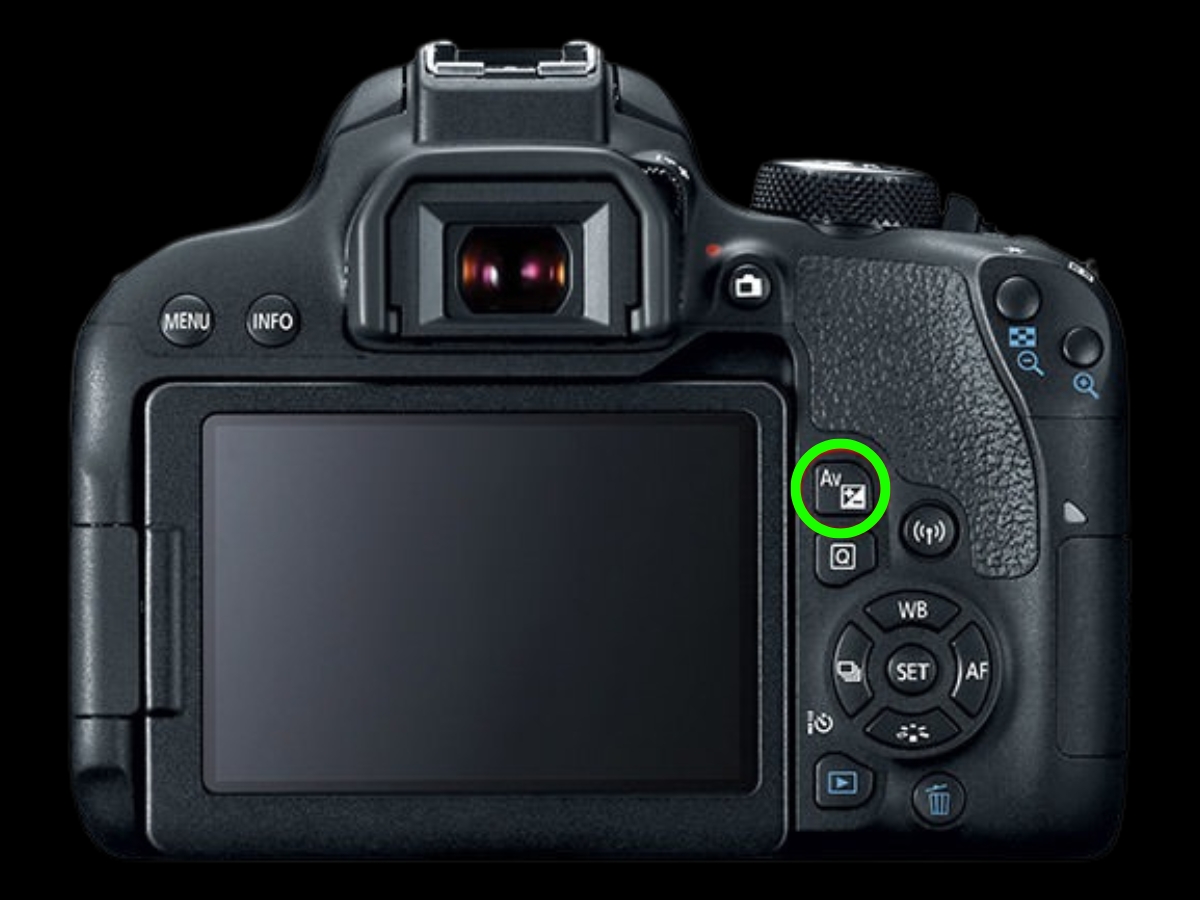
The first step is to locate your exposure compensation button or dial. If you use a Canon camera, there is usually an “Av” button on the back of your camera along with the +/- icon indicating it’s the exposure compensation button:
On other Canon cameras like my Canon 6D Mark II, it's available by hitting Q:

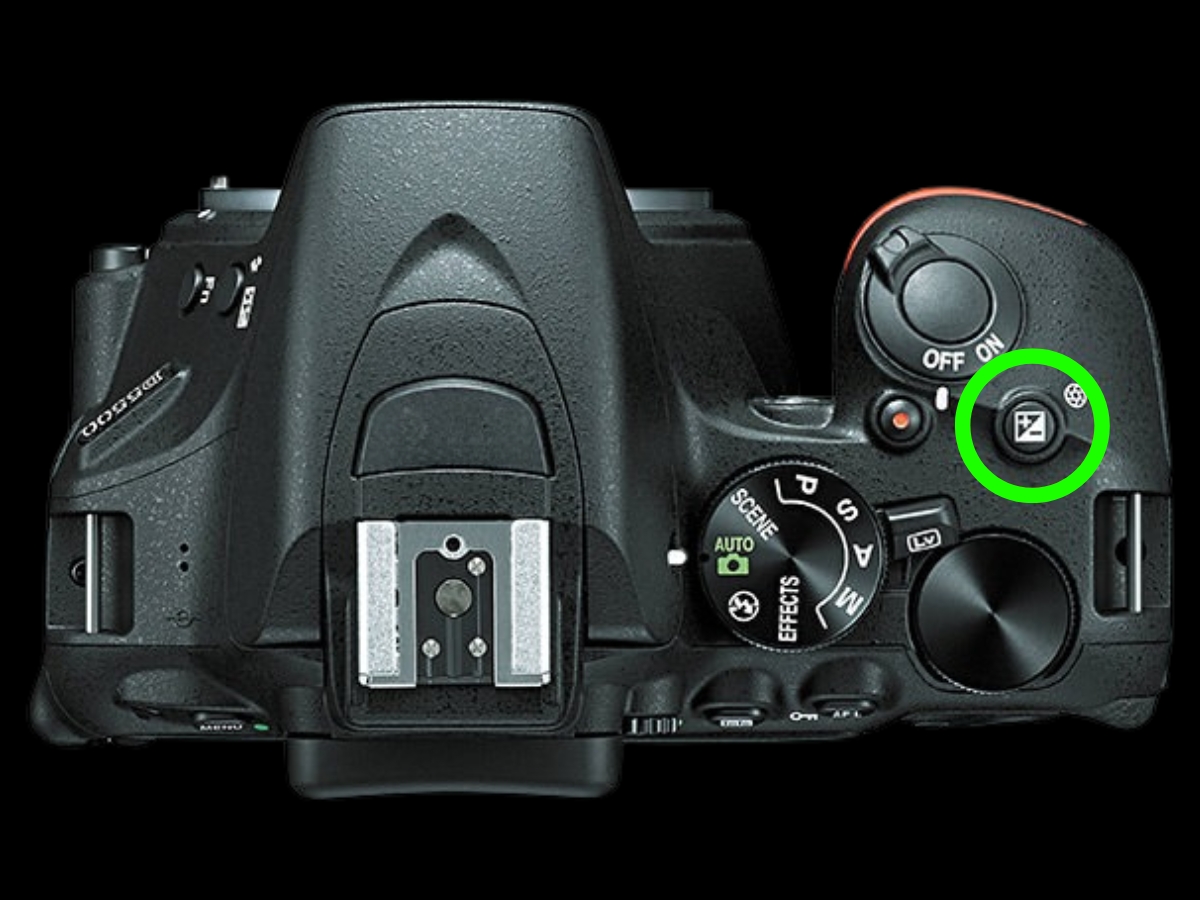
If you use a Nikon camera, there is usually a button near the shutter release showing the +/- icon:
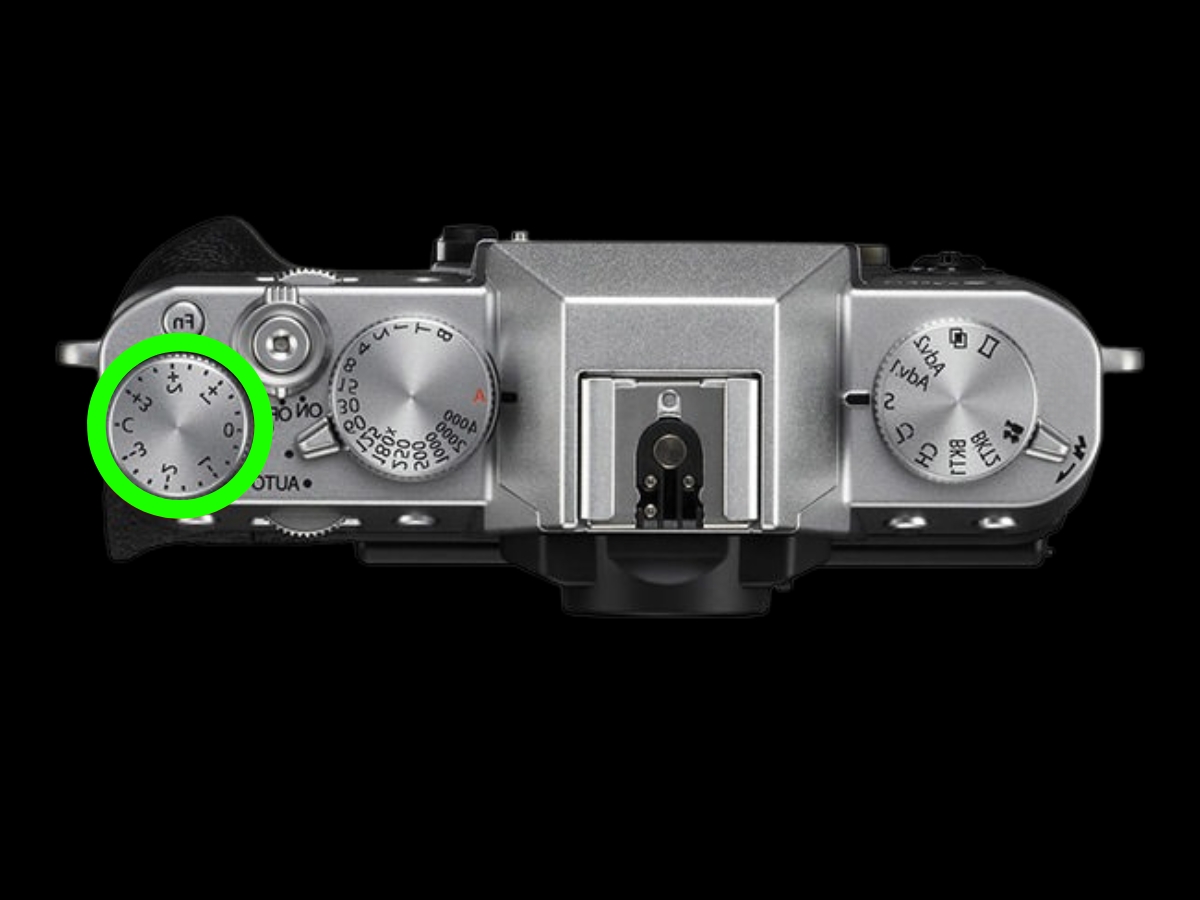
If you use a Sony or Fujifilm camera, there is usually a dial on top of your camera where you can adjust the exposure compensation from there:
2. Adjust the exposure compensation
Once you locate the exposure compensation button or dial on your camera, the second step is to adjust your exposure compensation. To adjust it, you usually either rotate the dial or press the +/- button and then use another dial or the arrow keys to increase or decrease the exposure value:
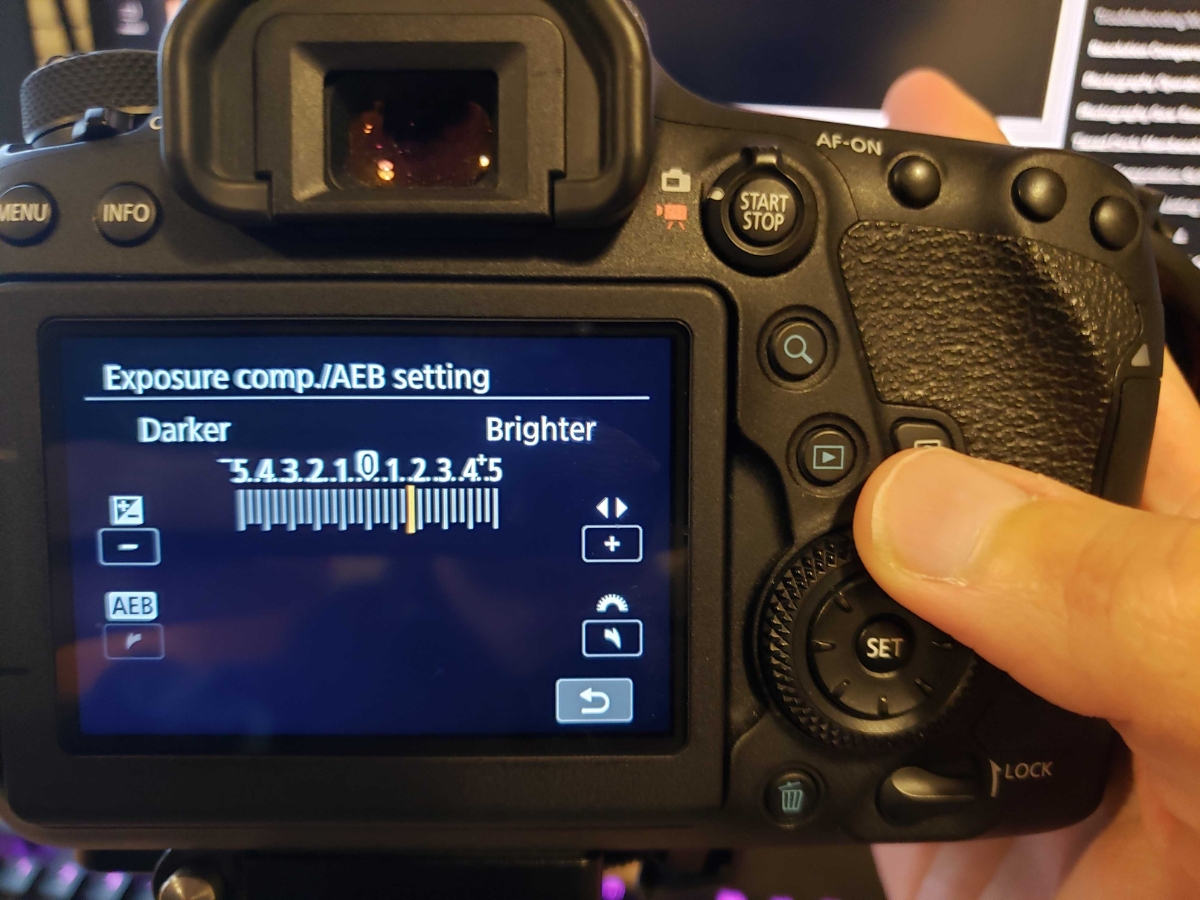
Positive values like +1, +2, etc. will make your image brighter, while negative values like -1, -2, etc. will make the image darker. Adjustments are typically made in increments of ⅓ or ½ stops, such as +½, +1, +1 ½, or +⅓, +⅔, etc.
3. Take a test shot
The third step is to take a test shot. After you adjust your exposure compensation, taking a test shot will allow you to see the effect on your image.
4. Review and adjust as necessary
The fourth step is to review your test shot and adjust as necessary. Reviewing the test shot you just took will let you know if you need to make further adjustments or not. If the exposure is not as desired, then adjust the exposure compensation further and take another test shot.
Repeat this process until you have your desired exposure.
5. Reset the exposure compensation
Lastly, the final step is to reset your exposure compensation. Once you are done with your session, remember to reset your exposure compensation back to 0:
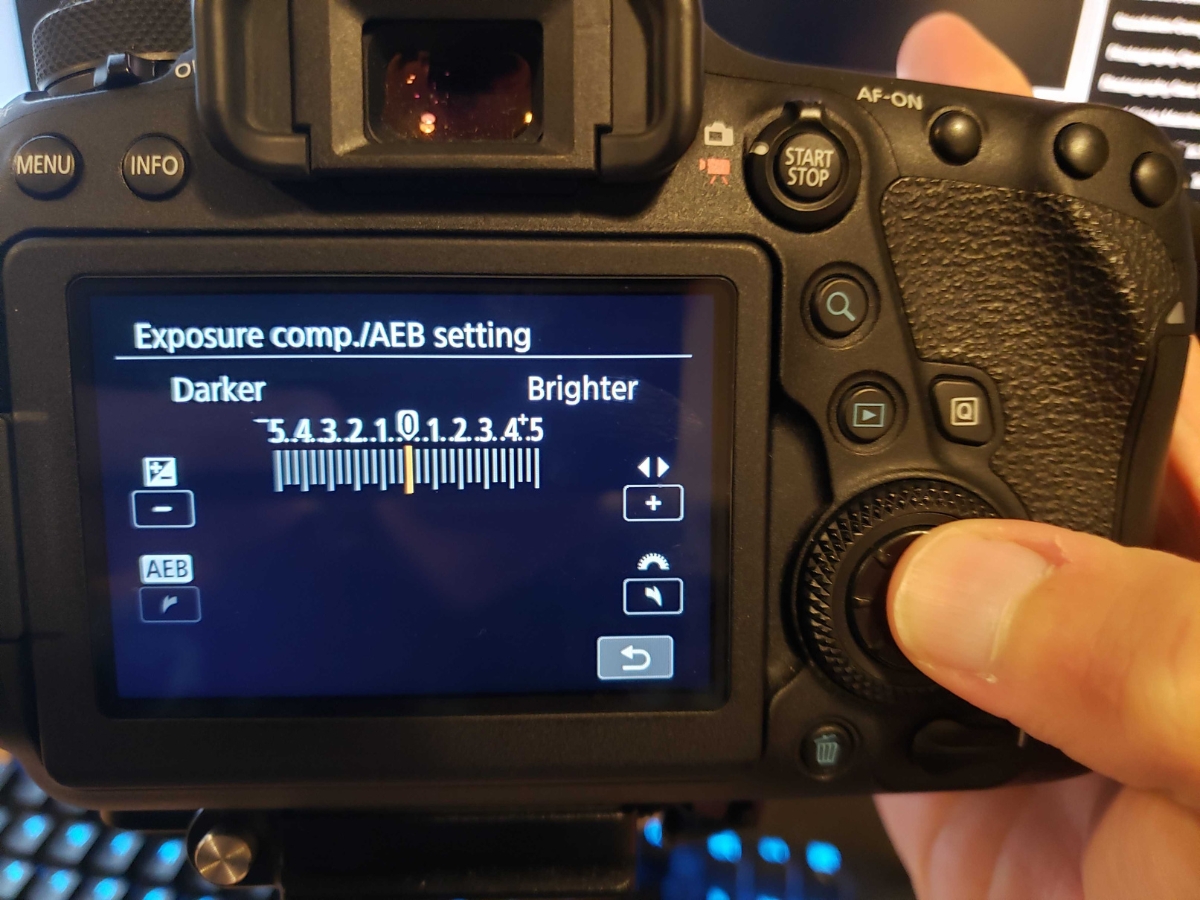
This will ensure that your next shots the next time you photograph are not unintentionally affected by your previous exposure compensation. And that’s everything you need to know about exposure compensation!
In conclusion, exposure compensation is an invaluable tool in our photography toolbelt. It allows us to have the flexibility to quickly adjust our exposure settings when shooting in automatic exposure settings. By understanding how and when to use this feature, we can take full control over our images, transforming what might have been to a thoughtful, properly exposed image.