This is a helpful guide for taking pictures in harsh, bright sunlight.
We’ll be covering the following topics (click on a bullet point to jump to that section):
Table of Contents
What is Harsh Light?
Harsh light is a very bright, direct light that tends to occur midday. It casts sharp shadows with defined edges that may disturb your end product. These unflattering shadows can make images less attractive.
Most photographers know what harsh light is and will usually try to avoid it. Eventually, however, you must learn how to photograph in harsh light.
Taking pictures in harsh sunlight is a part of every photographer’s journey.
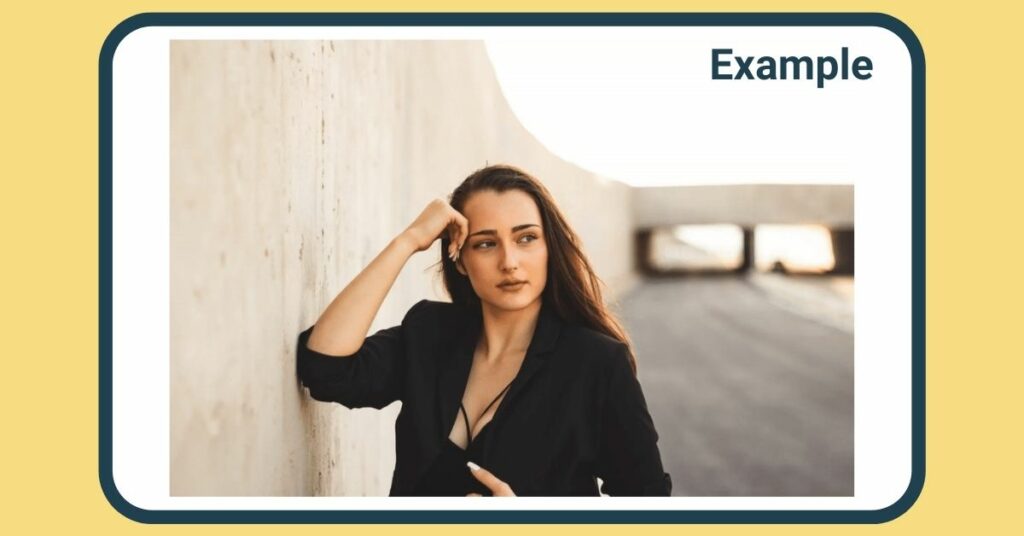
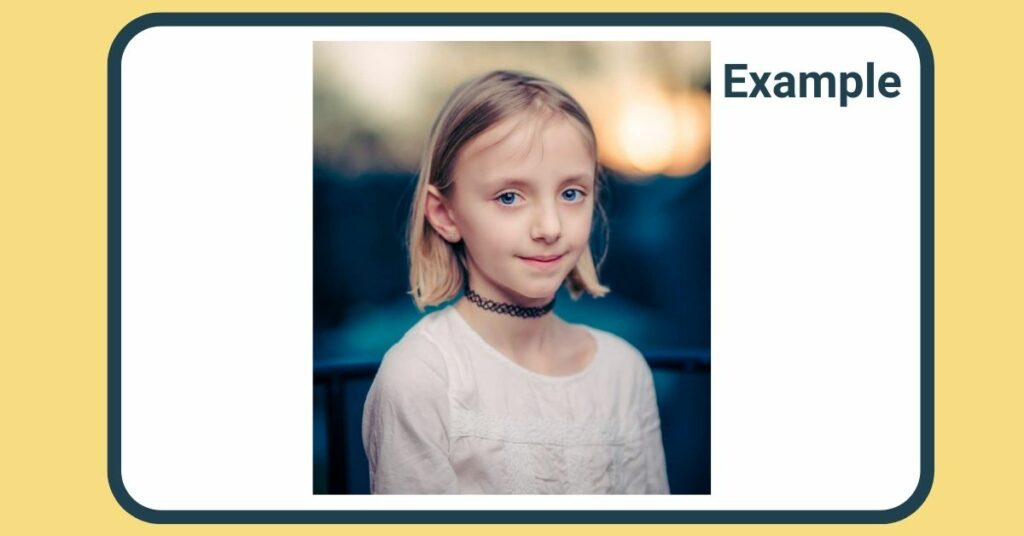
Being a portrait photographer, I always photograph portraits in bright sunlight.
You won’t always have a choice, and it’s best to learn how to deal with unfavorable lighting conditions instead of circumventing them.
In this article, we’ll explain the differences between hard and soft light and give you some handy tips on photographing in harsh light.
A lot of cameras have difficulty exposing a scene with various light levels.
This is one notable reason why taking pictures in harsh sunlight is undesirable.
Now that we know what harsh light is, how can we use it to our advantage?

How Do You Photograph in Harsh, Bright Sunlight?
Sometimes you just can’t photograph at the golden hour; you won’t always be able to take a photo at the perfect time, in the perfect location.
So, there’s a big chance you’ll encounter harsh, bright sunlight now and then.
While we can’t change the weather to our liking, we can make the most out of the situation and learn how to photograph in harsh light.
For instance, you can position your subject away from the sun or under a tree and use reflectors for better lighting.

To begin, set your camera to manual. Although your camera may claim to be ‘smart’, you can’t fully depend on it to make the right decisions.
There will be lots of light bouncing off different surfaces, and your smart camera will likely overcompensate for the lighting and underexpose your subject.
So once your camera is set to manual, you should overexpose and use a wide aperture.
Harsh light on the face may reveal flaws in the subject, which should be avoided. We recommend trying between f/1.2 and f/2.8, but feel free to experiment!
You should typically position the sun behind them for a greater overall look. We’ll explain this further in the rest of our tips on photographing in harsh light.
We also recommend moving around (both you and your subject). This may seem a bit vague, but when you move around, you can easily see how the surroundings relate to the subject.
Moving a full 360 rotation will help you as a photographer know which angles work best for the lighting situation.
Tips for Photographing in Harsh Light
Here are 10 tips for photographing in harsh, direct sunlight.
1. Have Correct Positioning
One of the best tips for photographing in harsh light involves positioning.
By knowing where the sun is facing, you can position your subject away from it.
Although very simple, this technique keeps the unattractive shadows away from your subject’s face.
It also prevents them from squinting, which allows emotions and expressions to be more natural.
This also gives your subject a nice skin tone, which makes the picture more natural.

2. Use Your Surroundings
Using the same concept as the previous point, blocking the harsh sunlight with surrounding objects also helps. These objects also act as a shade for your subject.
Consider objects that could block a lot of light and look great with backlight. The most popular objects are trees and buildings.
If you can’t find one, make one! For example, if you’re taking a photo at the beach, try using objects around you, such as palm leaves.
3. Use Reflectors
To counteract the harsh backlight, you will need some reflectors to bounce light onto your subject.
There are many reflectors available to buy, but you can also use some ‘free’ reflectors.
Natural reflectors are all around you – pretty much everything bounces light back. We recommend using neutral-colored buildings or sidewalks that provide enough light.
If you are still interested in purchasing a reflector, that’s also great!
Using a specialized reflector, you can easily give more tone to your subject, especially if you want their outfit to ‘pop’ out more.

4. Trying Photographing Wide
If the sunlight is right overhead, casting harsh shadows on your subject’s face, then try photographing wide.
Use a wider lens and capture more of the background.
Not only will it create a more editorial look, but it will allow you to put less emphasis on their face if you can’t escape capturing shadows on their face.
5. Photograph Differently
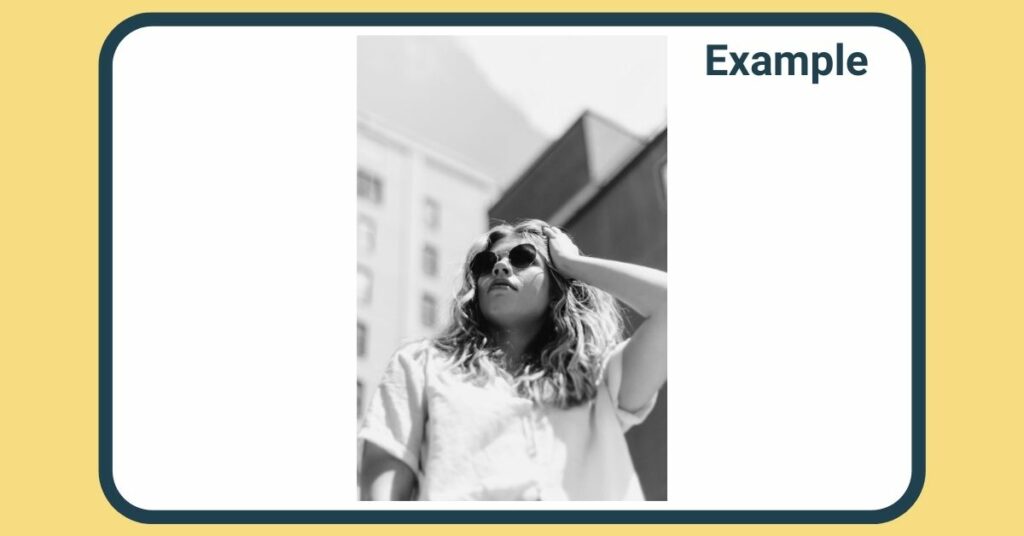
You can also try photographing from different angles. We recommend angles that don’t make your subject squint, so ask them to look away from the camera.
This particular technique works well with people who want candid photos. In candid photos, your subject won’t focus on the camera; instead, they’ll look more preoccupied with their current activity.
This also includes taking your photos from different levels, either below or above eye level. Photographing in different ways helps you explore how the shadows and lights affect your subject.
6. Be Prepared
If you live in an area that’s generally sunny all day, investing in ND filters or CPL filters would be worthwhile.
These filters reduce the light levels and allow you to experiment with the depth of field, aperture, etc.
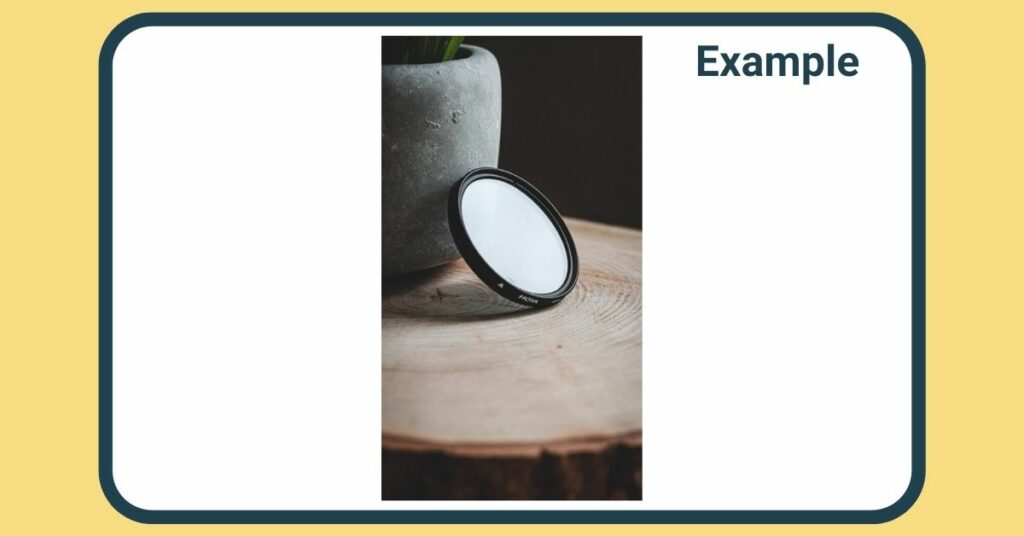
Although they’re not the end-all-be-all solution, they’re pretty neat.
If you know what kind of light you’ll be working with beforehand, you’ll be better equipped to handle it.
Preparation can be the difference between a disaster and the best photo session you’ve ever had.
7. Wait a Bit of Time
While this tip is a bit of a cop-out, it’s true.
I have been in photo sessions where the sun is directly overhead, casting harsh shadows on my subject’s face.
My photos were not turning out great, so I decided to wait until photographing in the sunlight.
In the meantime, we will find a place with shadows and photographs.
Examples include behind a building, under a tree shade, etc.
Once the sun went down a bit, we stepped back into the sunlight, and voila, there were beautiful images!
8. Pay Attention to Your White Balance
If you are photographing in harsh sunlight, play around and experiment with your camera’s different white balance options.
You can use Photoshop and edit your photos after the session, but this can help during the actual session.
9. Use Fill Flash
Leveraging a fill flash in your photo session on a sunny day can work wonders.
Fill flash works best when your subject is either underexposed or has harsh shadows on its face.
The fill flash will “fill in” the dark parts of your subject’s phase while still being able to expose the highlights.
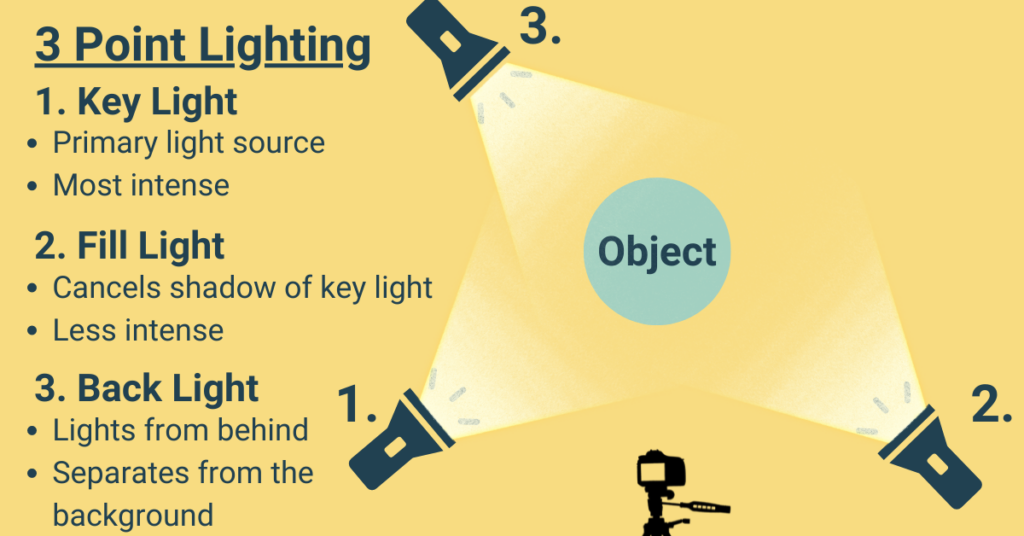
Just remember the three-point lighting setup. But in this case, the key light will be the sun, so your fill flash will need to act as the fill light:
10. Experiment and Practice
This may sound obvious, but learning and mastering photography in harsh sunlight does take time. Learning one concept and then using it in relation to another is not an easy task.
Learning how certain environments can affect your subject’s appearance greatly benefits you.
Some people love to photograph in forests while the sun scorches over them, and some people also get accustomed to how city buildings reflect light.
Experimenting with different camera modes will also help you to use harsh light to your advantage.
The more you practice and experiment, the faster you’ll master taking pictures in harsh sunlight!
To further explore the subject of photographing in harsh light, we also recommend this video by Manny Ortiz:

What is Hard and Soft Light in Photography?
Knowing how to take good photos in harsh light requires knowing the difference between hard and soft light, at the very least.
In a nutshell, the difference between these two lights is the shadows that they cast. Soft light gives you a barely distinguishable shadow, while hard light gives you more defined shadows.
To create soft light, your light source should be close and big. Imagine directing your flashlight close to a small Hot Wheels car. It would appear softer, with a less defined/blurry shadow.
To create hard light, the lighting should be far away and small. The most notable object is the sun. Shadows cast by objects hit by the sun appear more defined.
Hard light is a good option when trying to make your subject’s clothes texture more defined.
On the other hand, soft light makes images more flattering because the subject is well-lit, especially if you use a reflector.
Final Remarks
Photography in harsh sunlight is not by any means easy. Luckily, there are a handful of simple methods and tips that can help you!
The essential point of how to photograph in harsh light is to be versatile and prepared for all conditions.
Clever positioning of your subject and surroundings should pretty much do the job for you.
Consider purchasing helpful equipment like a reflector, an ND, or a CPL filter to give you a little more control of the light levels.
I hope I have equipped you with some tips you can use next time you take pictures in harsh sunlight.
Keep practicing and experiment with what works best for you and your client! With the world “slowing down,” you have all the time you need to practice, so what are you waiting for?
Frequently Asked Questions
Is it bad to take photos in direct sunlight?
Direct sunlight can create harsh shadows, blown-out highlights, and a lack of detail in a photograph, making it more difficult to achieve a well-exposed image. However, with the right techniques, equipment, and creativity, photographers can still capture stunning images in direct sunlight.
What camera filter for harsh sunlight?
A polarizing filter is an excellent choice for reducing glare and reflections caused by harsh sunlight. It can also help to enhance colors and contrast in the image, making it a useful tool for photographers who want to capture beautiful and vivid images even in bright and sunny conditions.
What setting do you use for harsh light?
Use a low ISO setting and a fast shutter speed to help reduce the amount of light that enters the camera and create a well-exposed image.
Nate Torres, with over seven years of professional photography experience, founded Imaginated, an educational platform designed to teach photography enthusiasts. Nate Torres is also a professional portrait and headshot photographer in the Orange County and Los Angeles areas. He specializes in portraits of individuals, couples, groups and headshots. Nate Torres is also a photography writer and content creator and educates other photographers on exposure, photography composition, photography editing, photography gear, and photography business. You can find his content on his personal website, social media, and YouTube Channel, as well as on blogs such as Fstoppers, Photofocus, and SLR Lounge.