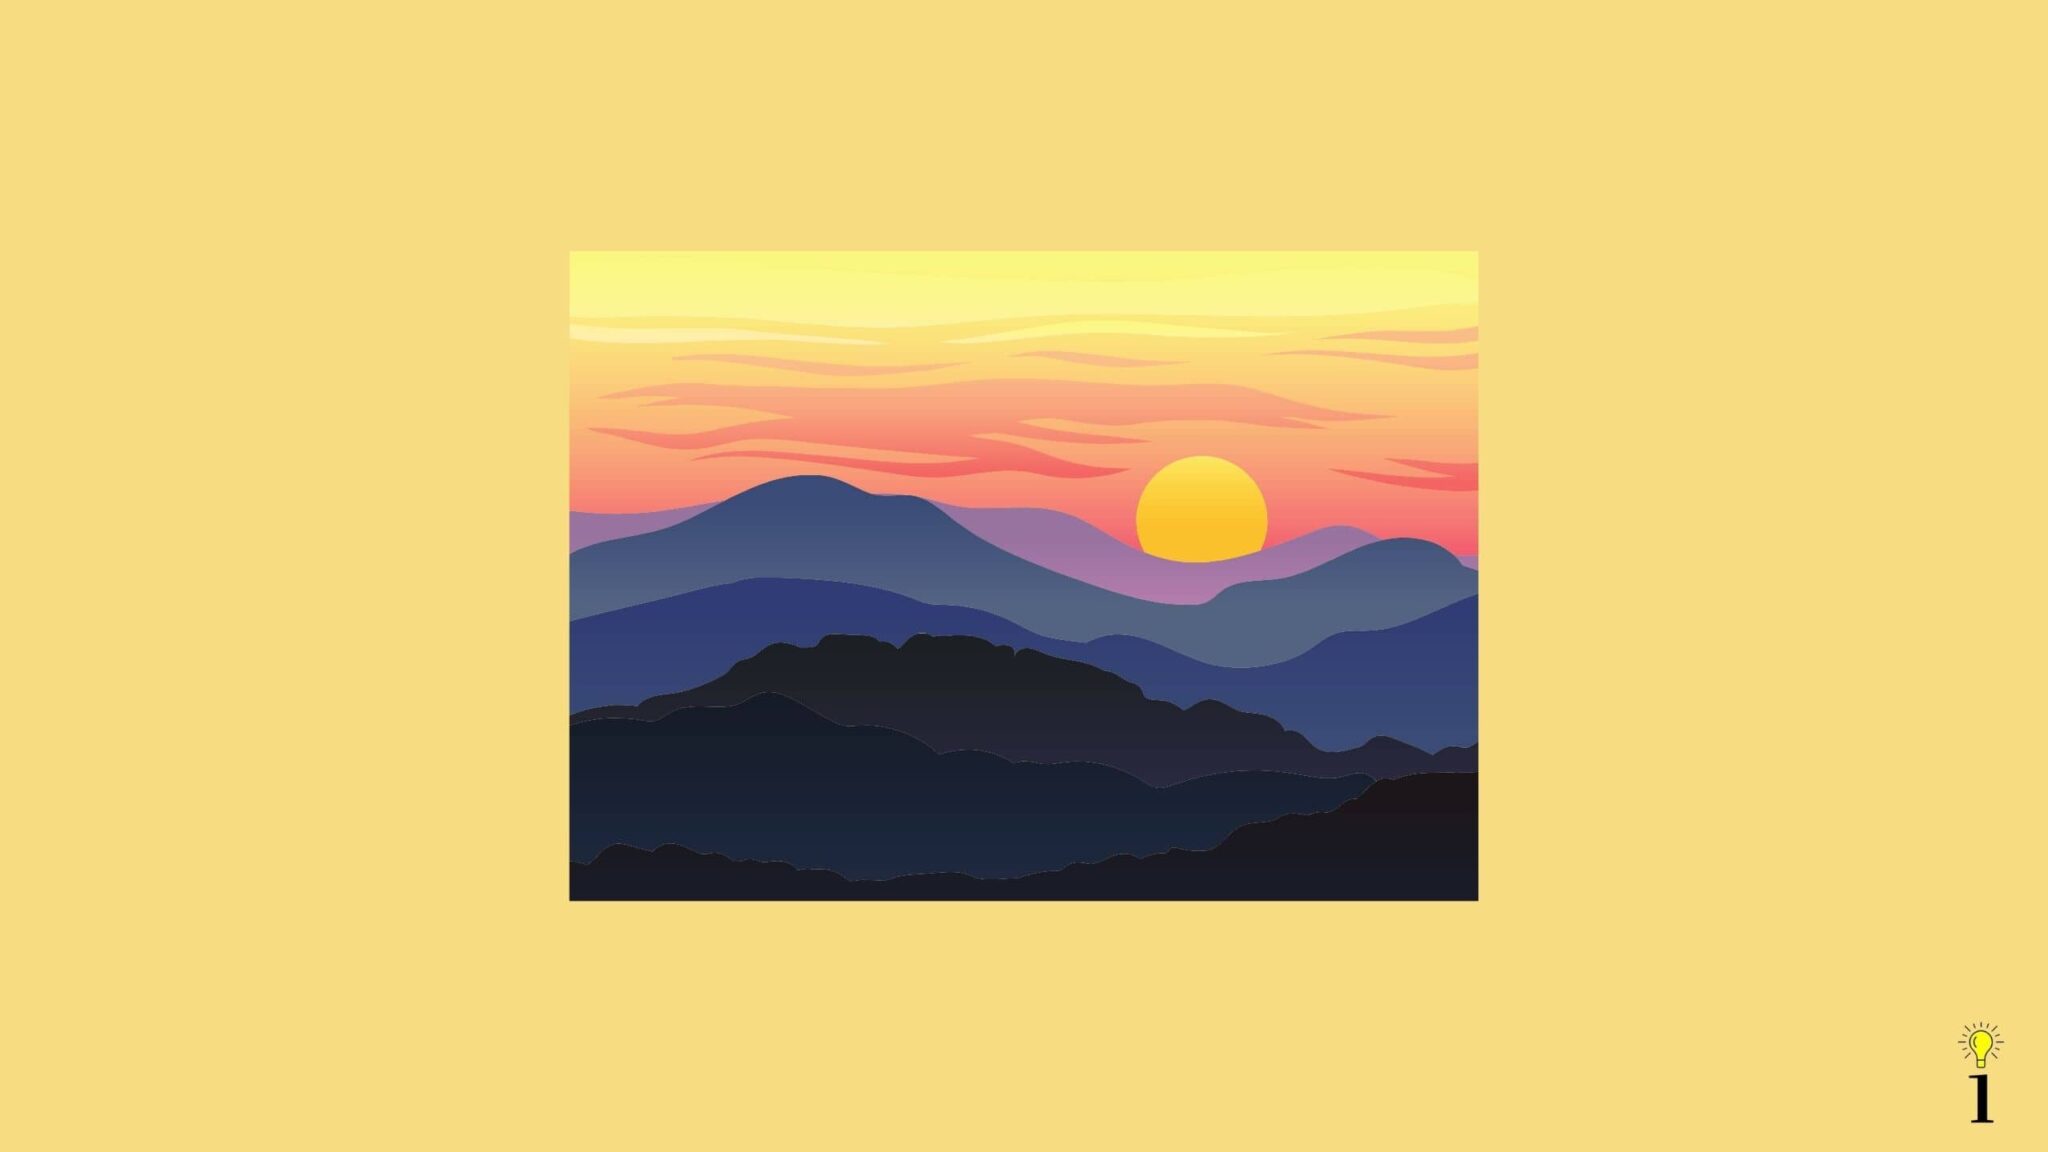
Looking to take your sunset photography to the next level? Here are 15 tips that will help you capture amazing shots of the sun setting.
From using the right equipment to finding the perfect location, these tips will help you create stunning photos of sunsets. So grab your camera and get ready to capture some beautiful images!
Table of Contents
1. Get to the Scene Early
If you want to capture a beautiful sunset, you need to get to the scene early.
How early?
We recommend getting to your location at least 60 minutes before the sun is scheduled to set. This will give you plenty of time to find the perfect spot and get everything set up.
When it comes to photographing sunsets, patience is the key.
The last thing you want to do is plan a sunset photoshoot, and then show up just before the sun is setting. You will feel stressed and rushed, and as a result, your photos probably won’t turn out great!
Take it from experience. It’s not fun!
2. Stay a Bit Later After the Sun Sets
Once the sun has set, don’t pack up your gear and head home just yet. The sky often puts on a beautiful show after the sun has gone down.
So, stick around for a few minutes and see what kind of shots you can capture.
Sometimes the best shots come after the sun sets when the blue hour light takes place — producing beautiful, moody images.

3. Find the Perfect Location
The location of your sunset photo is important. You’ll want to find a spot with a clear view of the horizon, as this will allow you to capture the colors of the sunset.
You’ll also want to avoid any obstacles that could block your view, such as trees or buildings.
If you’re shooting landscape sunset photos, we recommend finding a spot on high ground. This will give you a clear view of the horizon and allow you to capture a wide shot of the sunset.
4. Use a Tripod
When shooting sunset photos, we recommend using a tripod.
This will help you keep your camera steady and prevent any blurriness in your images.
A tripod is especially important when shooting in low light conditions or when using a long shutter speed.
If you don’t have a tripod, try to find something else sturdy that you can place your camera on, such as a rock or fence post.
5. Use a Remote Shutter Release
A remote shutter release is a great way to avoid camera shake when taking sunset photos.
This device allows you to take pictures without touching your camera, which prevents any movement that could cause blurriness.

If you don’t have a remote shutter release, you can use the self-timer feature on your camera. Just set the timer for 2 seconds and press the shutter button. This will give your camera time to stabilize before taking the photo.
6. Look for Interesting Foreground Objects
When composing your sunset photo, look for interesting foreground objects. This could be anything from a lone tree to a group of people.
Having something in the foreground will add depth and dimension to your photo. This is important when shooting landscape sunset photos.
If you’re having trouble finding a good foreground object, try using a wide-angle lens. This will help you include more of the scene in your frame.
7. Watch for Lens Flare
Lens flare occurs when light hits the front element of your lens. This can happen when shooting directly into the sun or when the sun is in your frame.
Sometimes you may want to avoid it and sometimes you may want to include it in your image for a creative look.

Let’s talk about the former — how to avoid it.
Lens flare can often be avoided by using a lens hood. This is a piece of plastic or metal that attaches to the front of your lens and blocks out unwanted light.
If you don’t have a lens hood, you can try using your hand to block the sun. Just hold your hand up to the sun and position it so that it’s not in your frame.
8. Experiment with Shutter Speed
When it comes to sunset photography, you’ll want to experiment with shutter speed.
Shutter speed is the amount of time that your camera’s shutter is open while taking a photo.
A slower shutter speed will allow more light into your camera and will result in a brighter image. However, using a slow shutter speed can also cause blurriness if your camera is not perfectly still.
A fast shutter speed, on the other hand, will result in a darker image. But, it will also help to freeze any movement in your photo.
You may want to experiment with a slower shutter speed if there is any water in the scene.
By slowing down the shutter speed, you can make the water appear to have that blurry, smooth and dreamy look.

So, experiment with different shutter speeds and see what looks best. We recommend starting with a slow shutter speed and then increasing the speed until you find the right balance.
9. Use a Low ISO Setting
When shooting sunset photos, you’ll want to use a low ISO setting. This will help to avoid any digital noise or grain in your images.
A low ISO setting will also help to keep your image sharp and crisp. We recommend setting your ISO to 100 or 200 when taking sunset photos.
Of course, you may need to increase your ISO if you’re using a slow shutter speed. But, try to keep it as low as possible to avoid digital noise.
10. Use Manual Mode
When shooting sunset photos, we recommend using manual mode. This will give you complete control over your camera’s settings.
In manual mode, you can set the shutter speed, ISO, and aperture to get the perfect exposure. This is important when shooting in low light conditions.
These three components are often referred to as the exposure triangle:

So, if you’re new to manual mode, we suggest practicing during the daytime before trying to shoot sunset photos.
Knowing how to manually control your image exposure will also ensure you don’t silhouette the landscape which is the next tip.
11. Avoid Silhouetted Landscapes
When taking sunset photos, you’ll want to avoid silhouetting the landscape.
This happens when the sun is in your frame and the rest of the foreground is dark.

To avoid this, make sure the sun is not in your frame when composing your photo. You can also try using a wider aperture to let in more light.
But listen, we’re talking about sunset photography so having the sun in the photo is kind of the whole point.
Expose for Landscape, Not Sky
One way to avoid a silhouetted landscape is to expose for the landscape.
This means that you’ll want to use a slow/longer shutter speed and low ISO setting.
This will help to keep the landscape well-exposed while still allowing the sun to be in your photo.
The only problem with exposing for the landscape/terrain/water is that it may overexpose your sky.
You can only expose for one, unless you bracket the images which will be our next tip.
Try a Graduated ND Filter
The second way to go about balancing the exposure on both the sky and the foreground is to try using a graduated neutral density filter.
These are filters that are darker on one end and gradually get lighter. This can help to darken down the sky while still allowing you to expose for the foreground.
We recommend using a 4 or 6 stop ND filter for sunset photography.

12. Bracket Your Images
Bracketing is when you take multiple photos of the same scene at different exposures. This is a great way to ensure you have the perfect exposure.
For sunset photography, we recommend taking 3 bracketed images. One exposed for the foreground (shadows), one exposed for the sky (highlights), and one that’s perfectly balanced between the two (mid-range).

You can then choose the best exposure for each element when editing your photos.
Of course, bracketing takes a little more time. But, it’s worth it to get the perfect exposure.
13. Try Different Compositions
When taking sunset photos, don’t be afraid to experiment with different compositions.
Try framing the sun in different ways or including interesting foreground objects.
Ones you can try out include leading lines, the rule of thirds, and symmetry.
Leading Lines
You can use leading lines by finding objects in the foreground that lead toward the sun. This can help to create a sense of depth and scale in your photo.

Rule of Thirds
The rule of thirds is when you imagine your frame is divided into thirds both horizontally and vertically. You then place your subject on one of the intersecting points.
This can help to create more interesting and balanced photos.
Symmetry
Lastly, symmetry is when you find objects that are evenly balanced on either side of the frame. This can create a sense of balance and harmony in your sunset photo.
Of course, these are just a few compositions to try out.
And remember, there are no rules in photography. So, feel free to experiment and find what works best for you.
14. Take a Lot of Photos
When taking sunset photos, make sure to take a lot of shots. This way, you’ll have more to choose from when you’re editing your photos.
It’s also a good idea to take photos in burst mode. This is when your camera takes multiple shots in quick succession.
This is great for capturing the perfect moment as the sun is setting.
15. Edit Your Photos
Last but not least, don’t forget to edit your sunset photos. This is where you can really bring out the colors and tones in your images.
We recommend using Adobe Lightroom for editing sunset photos. But, you can use any software you’re comfortable with.
In Lightroom, we suggest increasing the vibrance and saturation. This will help to bring out the colors in your sunset photo.
You can also experiment with the white balance, exposure, shadows, and highlights.
If you find that you still have a bit of a silhouetted landscape, then this is where you can leverage brushes and masks to increase exposure in certain areas or make certain areas more distinct by increasing the contrast.
Remember to start with a small adjustment and then build up from there. You don’t want to go overboard and end up with an unrealistic-looking photo.
Also, make sure you’re using a calibrated monitor. This will help to ensure your colors are accurate.
To further explore the subject of editing sunset landscape photos, we also recommend this video by YuriFineart:

What is Sunset Photography?
Sunset photography is the art of capturing the beautiful colors and light of the sun as it sets.
It can be categorized as a subcategory of landscape photography.
This type of photography can be both challenging and rewarding, as you strive to capture the perfect shot. But with a little planning and practice, you can take some amazing sunset photos!

What is the Best Time to Take Sunset Pictures?
The best time to take sunset photos is actually right before the sun dips below the horizon. This time is often known as golden hour. This is because the light is usually softer and there’s a bit more color in the sky. Of course, this doesn’t mean you can’t take great sunset photos after the sun has set. You’ll just need to experiment with different exposures to get the right look.
Is Sunset or Sunrise Better for Photography?
Some people say that sunrise is better for photography because the light is softer. Others say that sunset is better because of the beautiful colors in the sky.
Ultimately, it comes down to personal preference. So, we suggest trying out both and seeing which you like best.
What Makes a Good Sunset Photo?
There are a few things that make a good sunset photo. First, the colors should be bold and vibrant. Second, the photo should be well-composed, with the sun placed off to one side. Finally, the photo should have some sort of foreground interest, such as a person or object in the foreground.
Final Remarks
In conclusion, these are 15 sunset photography tips to help you take stunning sunset photos. Just remember to experiment and have fun.
Don’t be afraid to try new things and to make mistakes. That’s how you learn and grow as a photographer.
So, go out there and start taking some beautiful sunset photos.
Nate Torres, with over seven years of professional photography experience, founded Imaginated, an educational platform designed to teach photography enthusiasts. Nate Torres is also a professional portrait and headshot photographer in the Orange County and Los Angeles areas. He specializes in portraits of individuals, couples, groups and headshots. Nate Torres is also a photography writer and content creator and educates other photographers on exposure, photography composition, photography editing, photography gear, and photography business. You can find his content on his personal website, social media, and YouTube Channel, as well as on blogs such as Fstoppers, Photofocus, and SLR Lounge.